A first hive is mostly a series of small, ordinary choices: which boxes to run, where to stand them, and which few tools you actually reach for. Getting those right early saves a lot of correcting later.
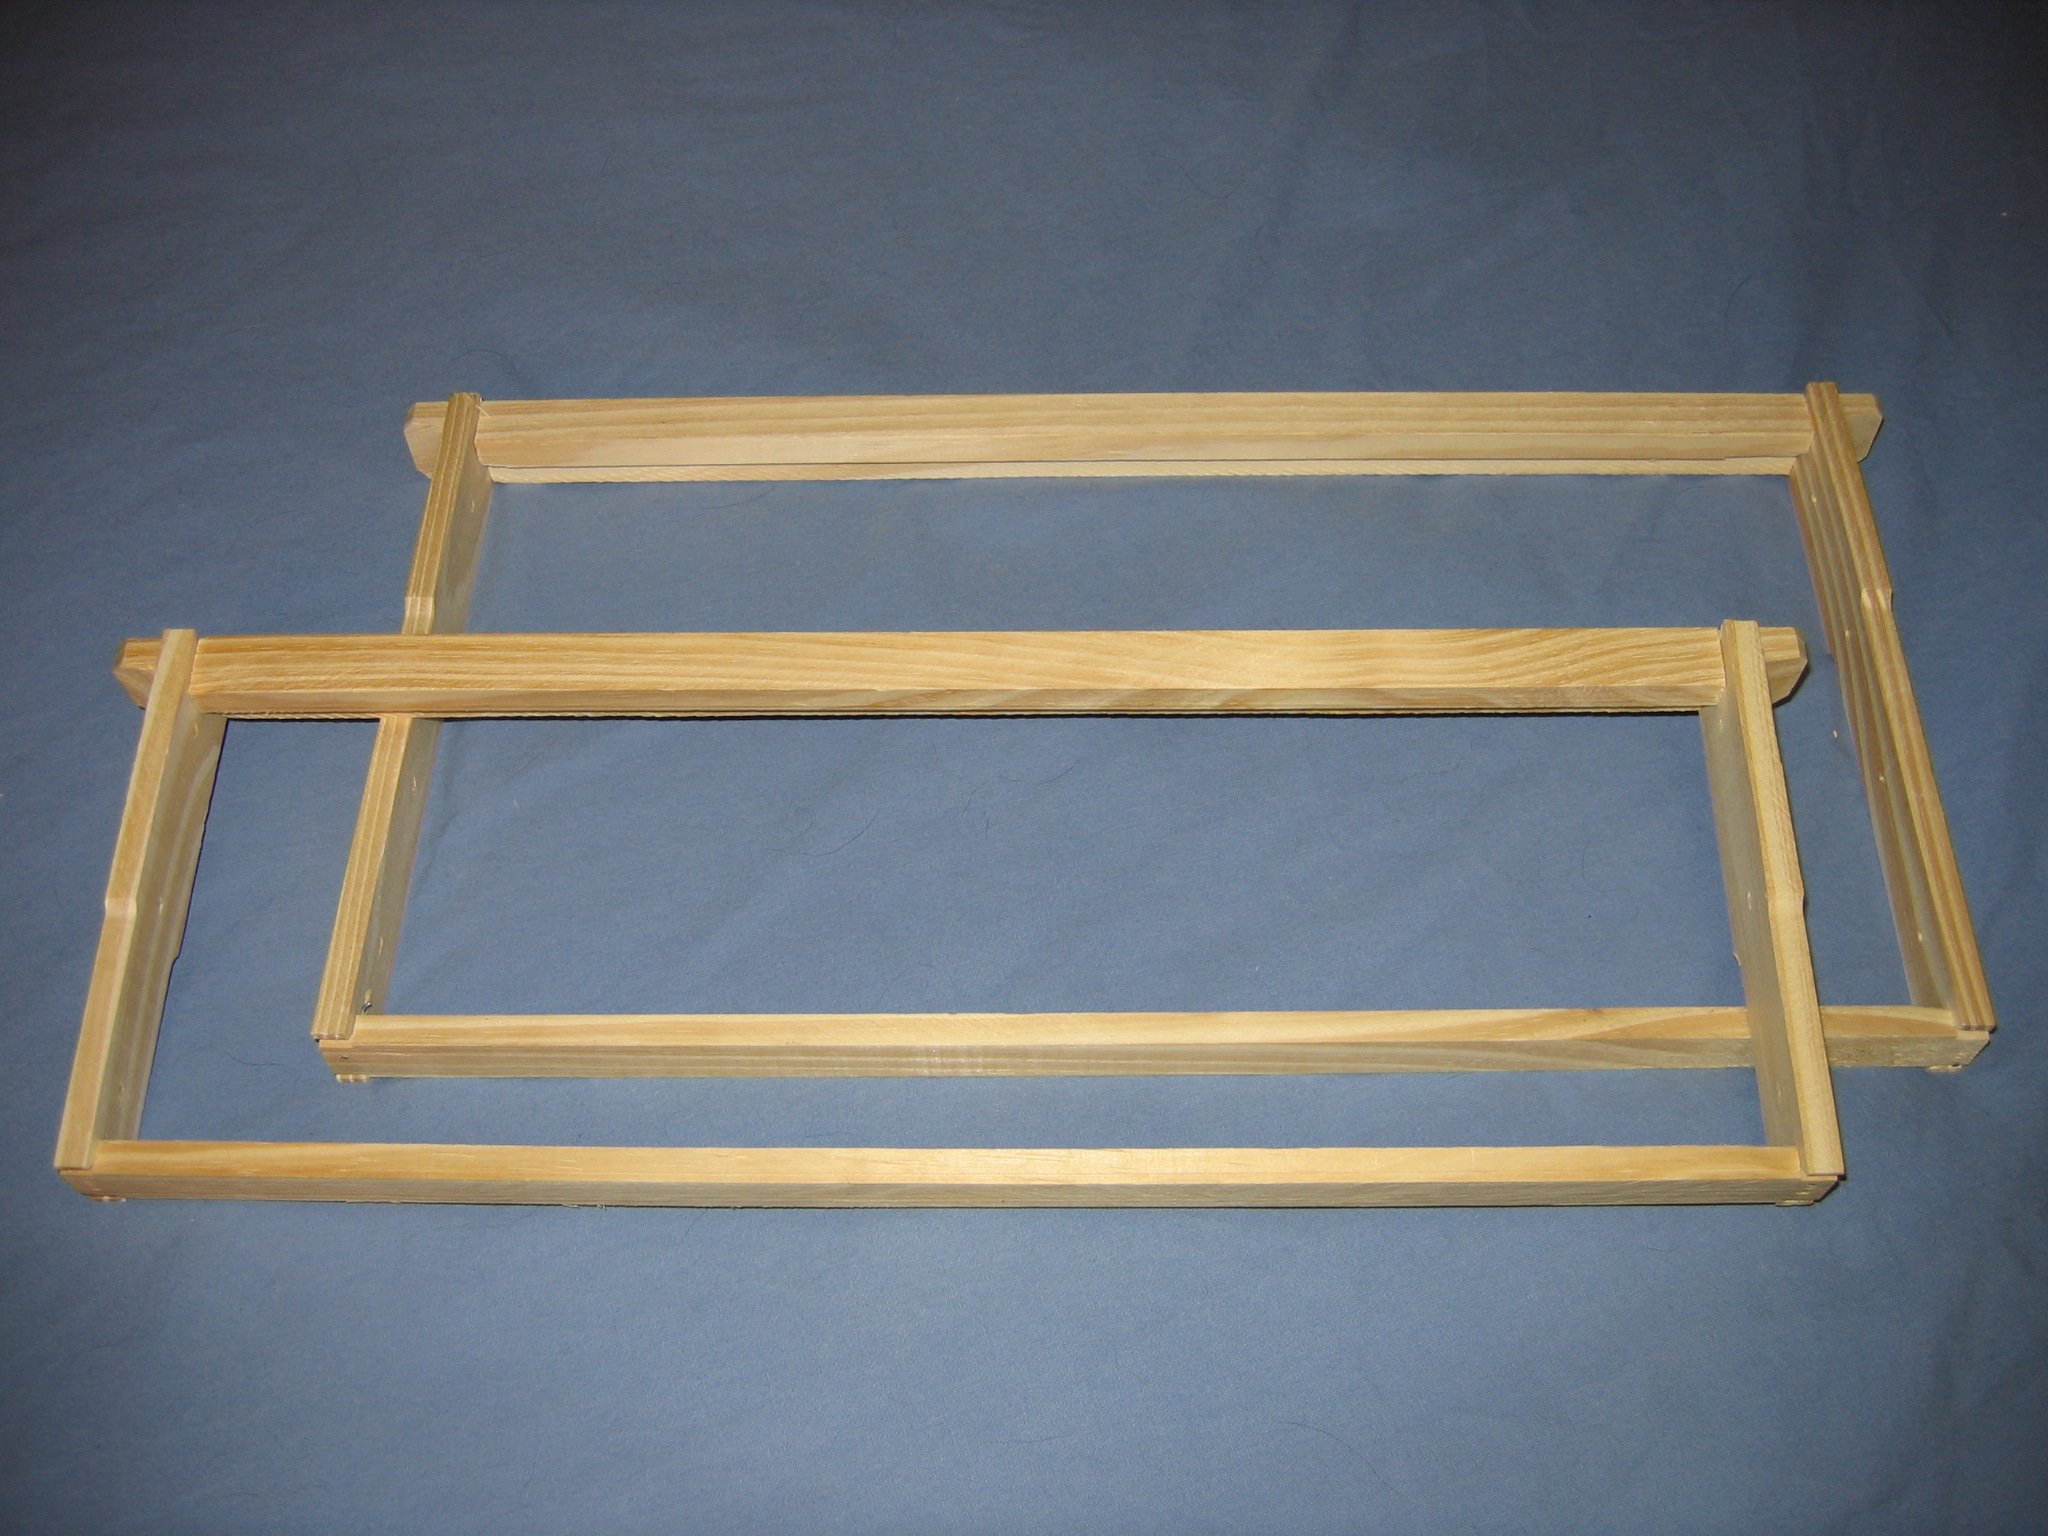
A drawn Langstroth frame. Photo via Wikimedia Commons (CC BY-SA 3.0).
Most backyard beekeepers in North America start with a Langstroth hive because its parts are standardized and widely available. A basic stack is a bottom board, one or two brood boxes, the frames inside them, an inner cover, and an outer telescoping cover. Boxes come in deep, medium, and shallow depths.
A common decision is whether to run all-medium boxes or the traditional deep brood box with medium honey supers. All-medium setups keep every frame interchangeable and make heavy lifting easier, which matters when a full deep can be awkward to handle. Deeps give the queen a larger continuous brood area. Either works; the practical advantage of picking one frame size is that everything fits everywhere.
Start with two colonies if you can. A second hive gives you a reference point. When one colony looks off, comparing it to a neighbour often tells you more than a book can, and you can move a frame of brood between them if needed.
Where to put the hive
Siting is where local conditions come in. A few points hold up well across Canadian backyards:
Morning sun, afternoon shade. Early light gets foragers moving; some afternoon shade helps in summer heat.
A wind break behind the hive. A fence, hedge, or shed wall reduces cold wind exposure, which matters most heading into fall.
Entrance away from foot traffic. Point the entrance toward an open flight path, not across a walkway or a neighbour's yard.
Off the ground and level side to side. A stand keeps the bottom board dry; a slight forward tilt lets rain drain out the entrance.
Before placing a hive, check municipal bylaws and any provincial registration requirement. Several provinces ask beekeepers to register their colonies, and some municipalities set rules on setbacks or hive numbers in residential areas.
Assembling and installing bees
New equipment usually arrives flat. Frames and boxes are nailed or stapled and, for longevity, the outer surfaces of boxes are often painted or treated while interior surfaces are left bare. Many beekeepers start a colony from a package of bees or a nucleus colony, commonly called a nuc, which is a small established colony on a few frames.
A nuc transfers directly into a brood box and tends to establish quickly because it already has brood and a laying queen. A package is cheaper but starts from scratch. In either case the first weeks are about letting the colony settle, confirming the queen is laying, and feeding sugar syrup if natural forage is thin.
First-season checklist
- Confirm queen is present and laying
- Feed 1:1 syrup until comb is drawn
- Add the second brood box when frames are mostly drawn
- Keep notes after every inspection
Tools you actually use
The tool list shrinks fast once you start. A hive tool for prying boxes and frames, a smoker to calm the colony, and a veil are the core. Gloves are a personal choice; many keepers move to bare or lightly gloved hands as they grow comfortable. A simple notebook or phone note for recording each inspection is easy to skip and worth keeping.
A standard hive tool. Photo via Wikimedia Commons (CC BY-SA 3.0).
Item
Purpose
Hive tool
Pry apart boxes, lift frames, scrape wax and propolis
Smoker
Calm the colony and mask alarm pheromone during inspection
Veil or jacket
Protect the face and neck
Feeder
Deliver sugar syrup to a new or light colony
Notebook
Track queen status, stores, and treatments over time